Kitchen Layout Mistakes That Cost Homeowners Money
A kitchen renovation is one of the largest investments you'll make in your home. The wrong layout can turn that investment into daily frustration. These are the most common kitchen layout mistakes we see as contractors—and how to avoid them before construction starts.
What Is the Kitchen Work Triangle and Why Does It Matter?
The kitchen work triangle connects your three most-used areas: the sink, the stove, and the refrigerator. When these three points are positioned correctly, cooking feels efficient and natural. When they're not, you end up walking unnecessary steps every time you prepare a meal.
The standard guideline is to keep each side of the triangle between 4 and 9 feet, with all three sides totalling no more than 26 feet. These distances prevent the kitchen from feeling either cramped or spread out.
Many homeowners focus on aesthetics first and discover workflow problems only after the renovation is complete. Correcting a layout after cabinets and countertops are installed is expensive—often requiring a second renovation to fix what should have been planned from the start.
Mistake 1: Ignoring the Work Triangle
The most costly layout mistake is designing a kitchen without considering how you move between the sink, stove, and refrigerator. Common problems include placing the refrigerator too far from the prep area, positioning the sink on the opposite side of a large island from the stove, and allowing a hallway or traffic path to cut through the triangle.
A broken work triangle means more steps, more time, and more frustration during every meal. In open-concept homes, it's especially easy to spread these three elements too far apart because the space allows it.
Mistake 2: Undersizing the Island
Kitchen islands are one of the most requested features in a renovation, but an oversized or poorly placed island creates more problems than it solves. An island that's too large for the space blocks the work triangle, restricts movement, and makes the kitchen feel crowded despite its size.
Maintain at least 42 inches of clearance on all sides of the island—48 inches if multiple people cook at the same time. If the kitchen can't support those clearances, a smaller island or a mobile prep cart is a better investment than forcing a full island into a tight space.
Mistake 3: Not Enough Counter Space Near Key Appliances
Every major appliance needs a landing zone—counter space directly beside it where you set down ingredients, hot pans, or dishes. The most common gaps we see are no counter space beside the refrigerator, no landing area next to the stove, and insufficient prep space near the sink.
Without adequate landing zones, you end up using the dining table, the island, or the stovetop itself as temporary surfaces—all of which create safety hazards and slow down your workflow. A minimum of 15 inches of counter space on each side of the stove and at least 18 inches on one side of the sink keeps things functional.
Mistake 4: Poor Storage Planning
Insufficient storage is one of the most regretted kitchen design decisions. It leads to cluttered countertops, overstuffed drawers, and items stored in hard-to-reach locations. Common storage mistakes include not extending upper cabinets to the ceiling, ignoring corner cabinet solutions, overlooking vertical storage for baking sheets and cutting boards, and failing to plan dedicated storage for small appliances.
Deep pull-out drawers, internal cabinet organizers, and a well-designed pantry eliminate the clutter that undermines an otherwise well-planned kitchen. Storage should be planned around how you actually use your kitchen, not how the layout looks on paper.
Mistake 5: Placing the Dishwasher Away from the Sink
The dishwasher should be directly adjacent to the sink. This seems obvious, but we regularly see kitchens where the dishwasher is placed across the aisle or several feet away to accommodate a specific cabinet configuration. This adds unnecessary steps to every cleanup and complicates the plumbing.
Position the dishwasher within arm's reach of the sink on the same counter run, ideally next to the cabinet where you store dishes and glasses. This creates a clean-up zone that flows: rinse, load, and put away—all within a few steps.
Mistake 6: Inadequate Lighting
Poor lighting is a functional problem, not just an aesthetic one. Kitchens with only a single ceiling fixture leave shadows across countertops, making prep work harder and the space less inviting.
Effective kitchen lighting uses three layers: ambient lighting for overall illumination, task lighting under cabinets and above work surfaces, and accent lighting to highlight design features. Plan your lighting layout before finalizing cabinet and countertop placement—adding under-cabinet lighting after installation is significantly more disruptive and costly.
Mistake 7: Forgetting About Electrical Outlets
Building codes require specific outlet placements in kitchens, including along countertops and on islands. Homeowners who don't plan outlet locations early often end up with outlets in visually awkward spots or without enough outlets where they need them.
Identify where you'll use small appliances—coffee maker, toaster, stand mixer—and make sure dedicated outlets are placed at those locations.
Mistake 8: Choosing Appliances After Finalizing the Layout
Selecting appliances after the cabinetry and layout are locked in leads to fitting problems. Standard-depth refrigerators, for example, protrude further than counter-depth models and can block walkways. Range sizes vary from 24 to 48 inches.
Choose your appliances before finalizing your kitchen design. Provide exact dimensions—including handles and door swing clearances—to your contractor or designer. This prevents costly cabinet modifications during installation.
How to Avoid These Mistakes
The best way to prevent layout errors is to work with an experienced contractor from the start. A professional kitchen renovation process includes assessing your current kitchen's workflow problems, designing the layout around how you cook and use the space, selecting appliances before finalizing cabinetry, and planning storage, lighting, and electrical as part of the initial design—not as afterthoughts.
If you're in the early stages of planning, our frequently asked questions page covers what to expect during a renovation and how the process works.
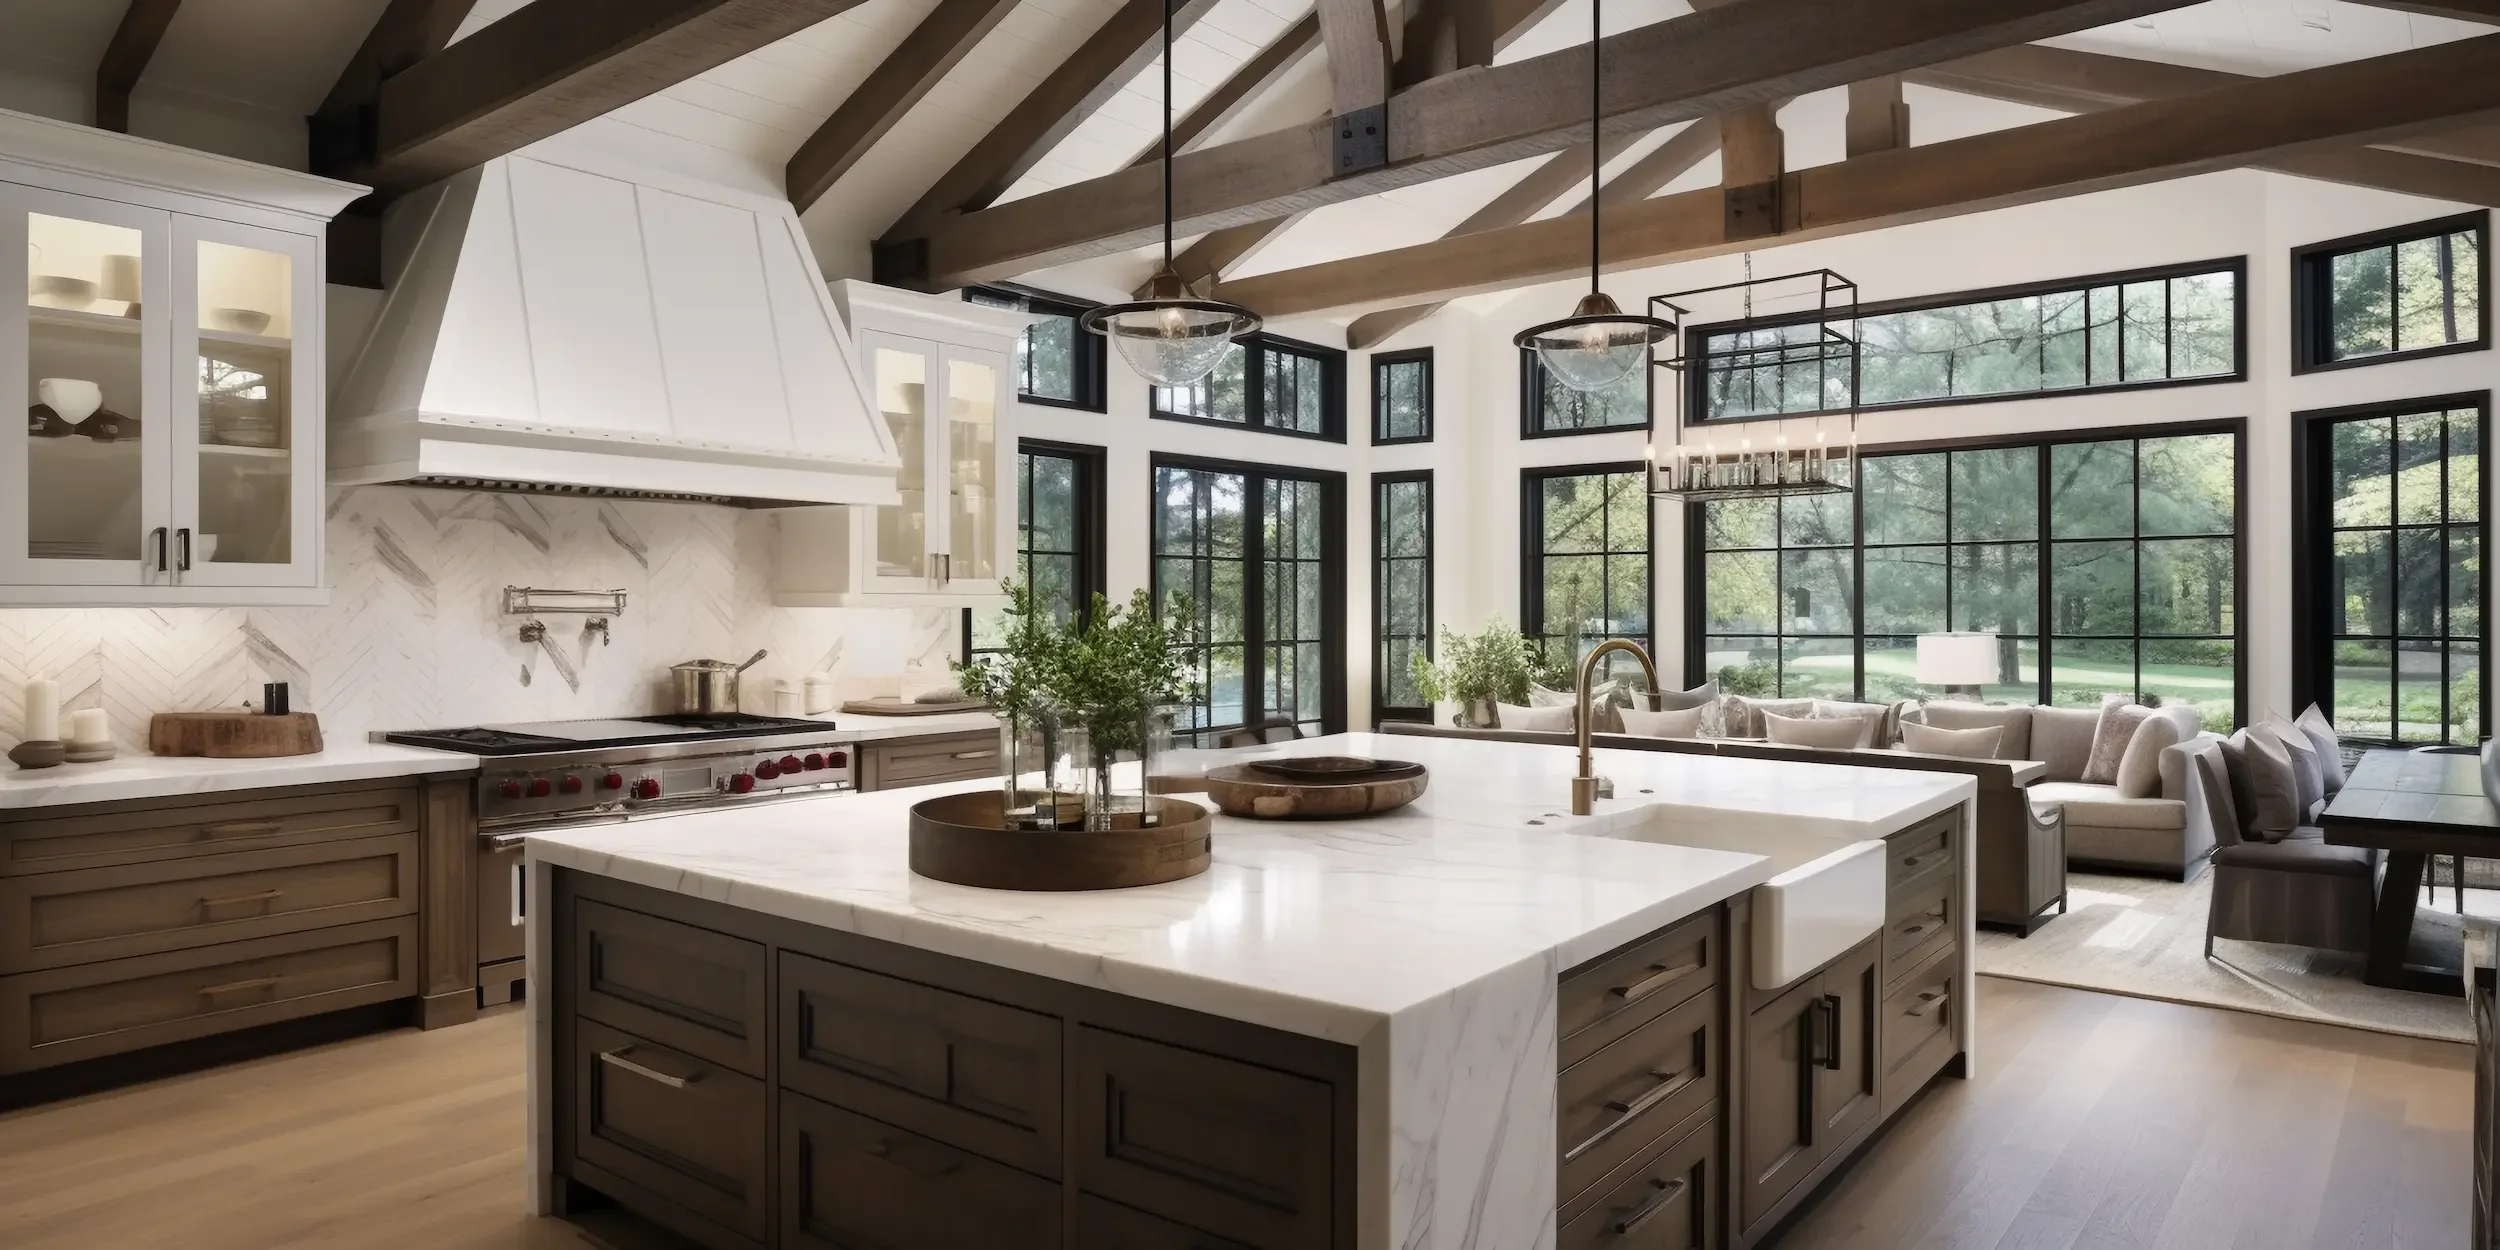
See What a Well-Planned Kitchen Looks Like
Layout decisions are easier to understand when you can see the results. Browse our completed kitchen projects to see how thoughtful planning translates into functional, beautiful spaces.
Start Your Kitchen Renovation the Right Way
A kitchen layout that works for your household starts with the right conversation. Contact Odin Agnuk to schedule a consultation and discuss your kitchen renovation project.
Odin Agnuk Ltd. is a Grey County-based renovation contractor specializing in kitchen renovations, bathroom remodels, and custom residential construction. Explore our full range of renovation services. With over 20 years of experience, we help homeowners throughout Grey County and the Greater Toronto Area plan and build kitchens that work as well as they look.